thydzik's arcade stick
welcome to my web page about my arcade stick
PART I (year 2002)
This was my first attempt at recreating the arcade feel, the total project cost me less then $150 AU.
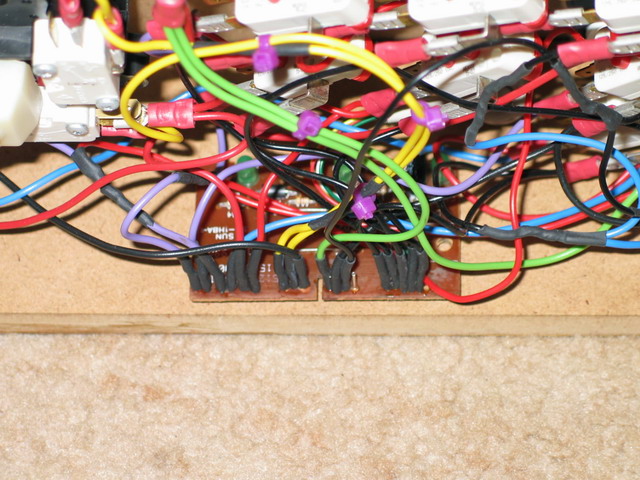
I bought the Happ joysticks and buttons from eBay, since OzStick at that time had only opened and were fairly expensive. I used a hacked keyboard as the interface, and yes; there were problems. Basically some combinations of buttons could not be pressed simultaneously. I did managed to fix some of the clashes by using signal diodes. Below are pictures of the actual wiring, as you can see it was extremely messy. The sticks dimensions where copied from the X-Arcade (who were nice enough to offer the blue prints on their site) and all of the keys where assigned to the same buttons. If you plan on building a desktop arcade stick, definitely invest in an I-PAC; it saves a lot of work as well as making the controls accurate, but at this stage I was wanting to keep costs to a minimum.
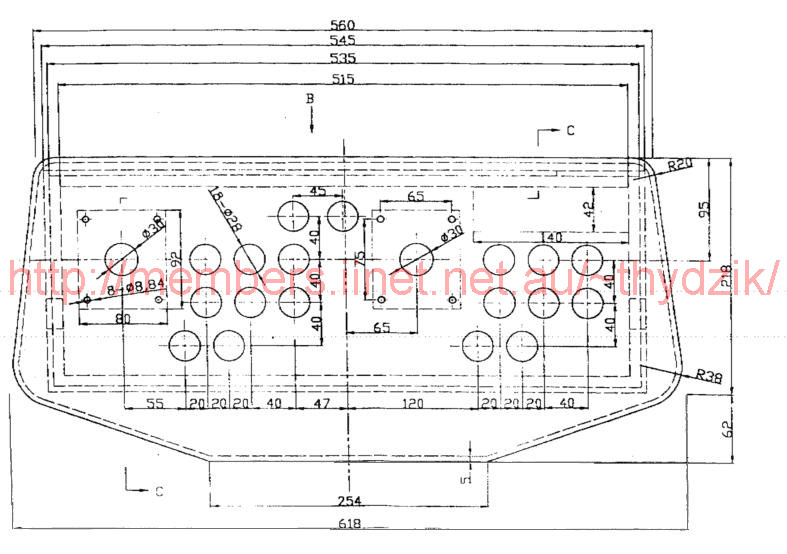
CAD DWG (drawing) file - accurate 1:1 drawing of the x-arcade stick
Click thumbnails for larger pictures;


PART II (year 2004)
I've finally decided to upgrade from the hacked keyboard to an I-PAC ($80 from OzStick). After I had bought this and was reading Ultimarc's site, I found out that they had released a simplified USB I-PAC which would have been much more suitable (and cheaper).
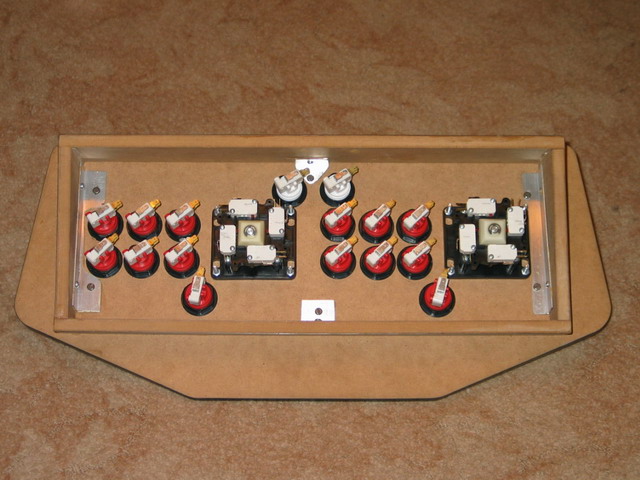
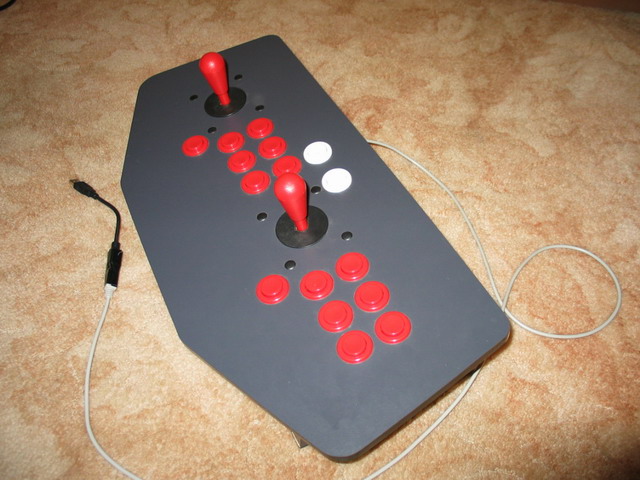
All the old wiring removed, I tightened and re-orientated all the buttons to make things look neater.

A 50 pack of lugs ($12) and 8 metres of wire ($4.70) were bought to do all the wiring.

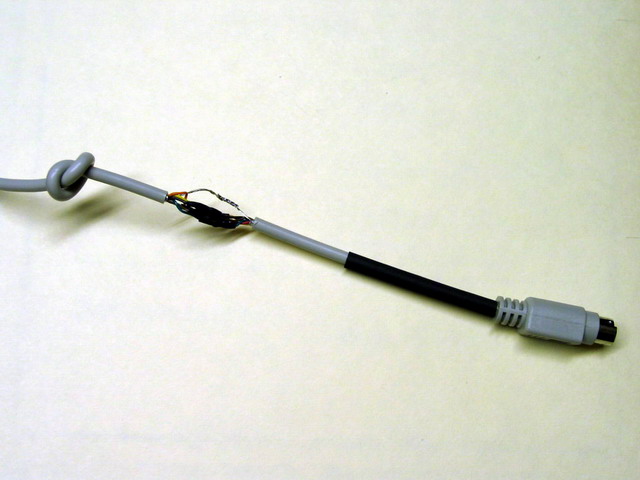
I didn't want to go through all the complicatedness of drilling holes for the two keyboard connectors, so I used the same trick as previous of tying a knot in the cable. Though I needed to splice the cable to first thread it through the hole.
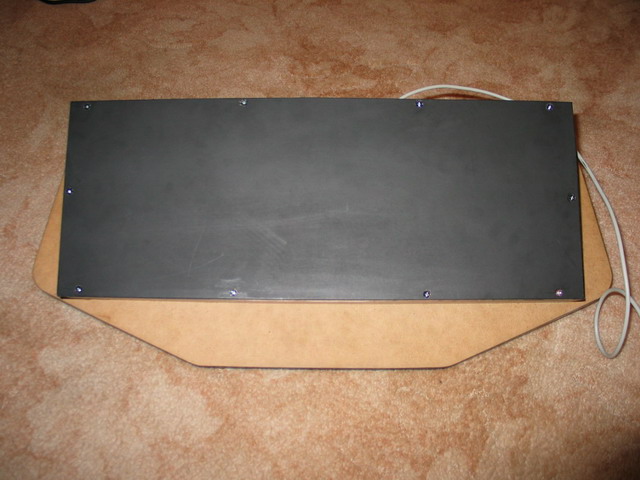
Finally, I decided to add a back to it, sprayed black so when seen from the side it wasn't noticeable.
Final shots

For something a bit more on the bigger side, check out my MAME cab
For any comments/questions/anything at all
Contact me.
![]()